We are only accepting applications through verified recruitment websites listing our job postings (i.e. LinkedIn, Workable, Indeed, etc). Dymax will only contact potential candidates from email addresses ending in @dymax.com.

9 Keys to Successful Use of Radiometers

Radiometer Calibration Services

Successful Use of UV & LED Radiometers

A radiometer is an essential component to a light-curing process because it aids in the determination of complete curing of light-curable materials. It measures the intensity and/or energy associated with light of specified wavelengths. It can also help with providing a safe work environment since it can be used to determine if any stray UV light is reaching operators or bystanders. Since radiometers are integral to a successful curing process, here’s how to use them correctly:

1. Select the Appropriate Radiometer Configuration for Your System

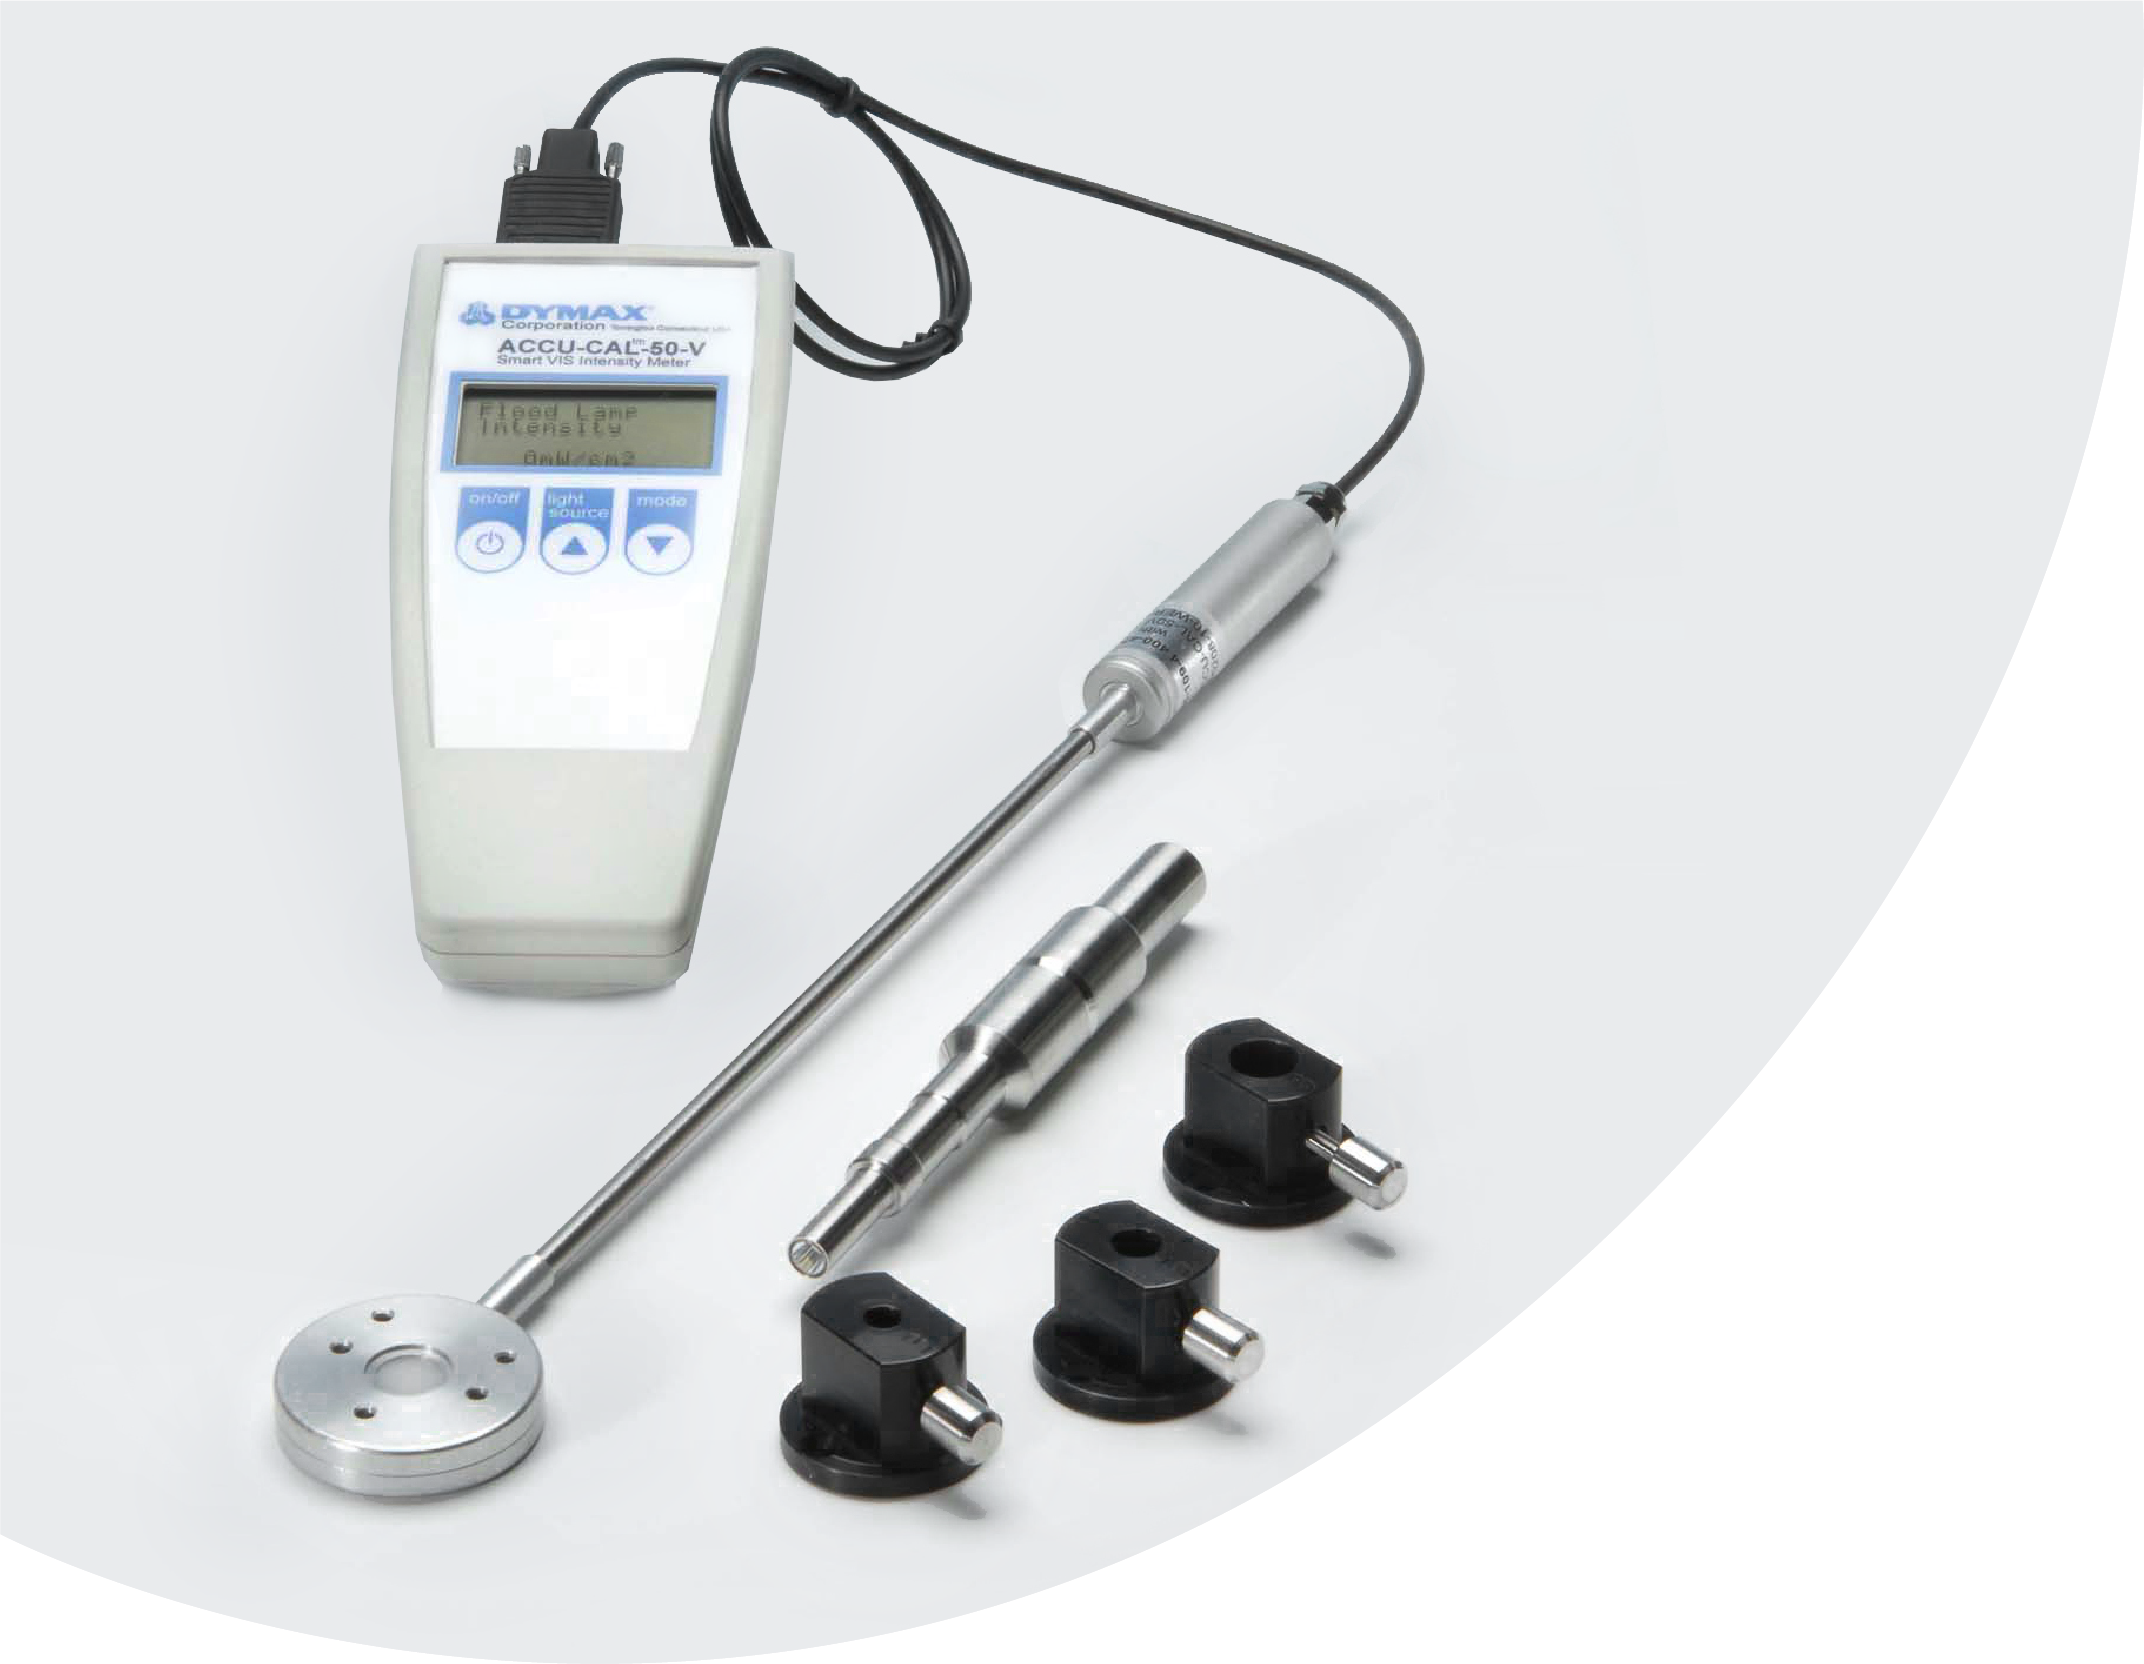
Different curing system configurations and applications require different styles of radiometers: Puck-style configurations are ideal for use with conveyor and flood-chamber curing applications. Hand-held/wand configurations can be used for some conveyor and flood system measurements but are more suited for spot and end-of-wand curing systems.

2. Select a Radiometer with the Correct Frequency Sensitivity Range

Curing systems emit energy over a wide spectral range, therefore it is important to use a radiometer that is designed to measure the same spectral range that your curing system is emitting. Conventional lamp systems emit energy over a wide spectral range across the UV and visible portions of the spectrum. LED curing systems have much narrower frequency emission ranges.

3. Handle Your Radiometer Carefully

Radiometers are delicate instruments and need to be handled carefully. Sharp blows or dropping will affect accuracy/calibration and may also permanently damage the instrument.

4. Get Your Radiometer Calibrated

Radiometers need to be calibrated periodically, typically every 6 months to a year. Calibration times should be included in the user guide for your particular radiometer. The next calibration due date can be found on a calibration sticker, the calibration certificate, or for some radiometers, such as the Dymax ACCU-CAL™ 160, it appears on the display screen.

5. Keep You Radiometer Clean

It's important to keep your radiometer clean, as debris deposited onto the surface of the sensor will reduce the energy reaching the device. To keep this area clean, wipe the sensor with a soft, lint-free cloth dampened with >90% isopropyl alcohol. Also ensure that the emitting-end optics of the lightguide are clean and detector is not loose on the wand.

6. Ensure Consistency

Two calibrated radiometers could potentially experience >10% difference when compared to each other. Dymax radiometers are calibrated to a controlled standard with a maximum acceptable deviation of +/- 7.1% (<3% is typical). It’s recommended to use only one radiometer for daily use.

Repeatable Measurement Orientation:

Spots – consistent lightguide orientation and form (bent or straight)
Floods and conveyors – consistent position beneath lamp
All – Consistent/same radiometer sensor rotational position orientation

7. Replace Batteries as Needed

Radiometers are typically powered by batteries. Replace them as needed to ensure top performance. Most radiometers have low battery indicators.

8. Never Swap Detectors or Adapters

The detector, meter, and in cases where adapters are included, are all calibrated as a matched set, so they cannot be switched or shared by other meters. Unmatched sets can provide drastically incorrect measurements.

9. Avoid Over-Exposing the Sensor

Sensors are sensitive and can be damaged by prolonged exposure to high intensity UV + heat. Customers should use an exposure time <5 seconds during their radiometer measurement routine, especially when measuring high intensity light sources.

Back to top